

Glass Handrail Bracket Types: Choosing the Right Support
Glass handrail bracket types split into two functional camps: glass-mounted brackets that clamp or bolt directly to the panel, and wall or post-mounted brackets that anchor the rail to a separate structural surface. Use glass-mounted hardware when you want a frameless, minimal look on a balcony or deck. Choose wall or post-mounted brackets for stairs, high-traffic areas, or anywhere the handrail needs support independent of the glass itself.
Spacing matters as much as the bracket you pick. Most installation guides call for brackets at regular intervals along the run, a spacing that keeps the rail rigid without overbuilding it.
- Glass-mounted brackets: patch fittings, point clamps, spigots
- Wall/post-mounted brackets: saddle brackets, wall flanges, side-mount rail supports
- Spacing rule: 36 to 48 inches between supports on a standard residential run
Typical bracket spacing runs 36 to 48 inches, a figure repeated across engineering testing and installation resources because it balances rigidity with cost. Skip a bracket to save money and you risk a rail that flexes under a leaning hand.
Key Takeaways
Bracket choice comes down to two categories, glass-mounted or wall/post-mounted, and consistent 36 to 48 inch spacing matters more to safety than any single bracket’s load rating.
| Point | Details |
|---|---|
| Two main categories | Glass-mounted brackets suit frameless looks; wall/post-mounted brackets suit stairs and heavy use. |
| Spacing rule | Keep bracket supports evenly spaced at regular intervals for a stable run. |
| Drilling is permanent | Pre-drilled holes (around 3/4 inch) must be specified before tempering, not after. |
| Material grade | Use marine-grade SS316 stainless outdoors or near pools; SS304 works fine indoors. |
| Matching hardware | Glassrailingstore’s connector and panel product pages map directly to each bracket style covered here. |
Useful Sources for Buying and Installing
- Installation guide and anchoring practices
- Engineering testing data
- Glass partition fittings for related architectural applications
Table of Contents
- What Are the Main Glass Handrail Bracket Types?
- Which Materials and Glass Specs Matter for Safety?
- How Do You Install Glass Handrail Brackets Correctly?
- How Do You Choose the Right Bracket for Your Project?
- Which Store Products Match Each Bracket Type?
- Get the Right Hardware Without the Guesswork
What Are the Main Glass Handrail Bracket Types?
Every bracket style solves a slightly different problem, and picking the wrong one usually shows up as either a wobbly rail or a panel that never should have been drilled.
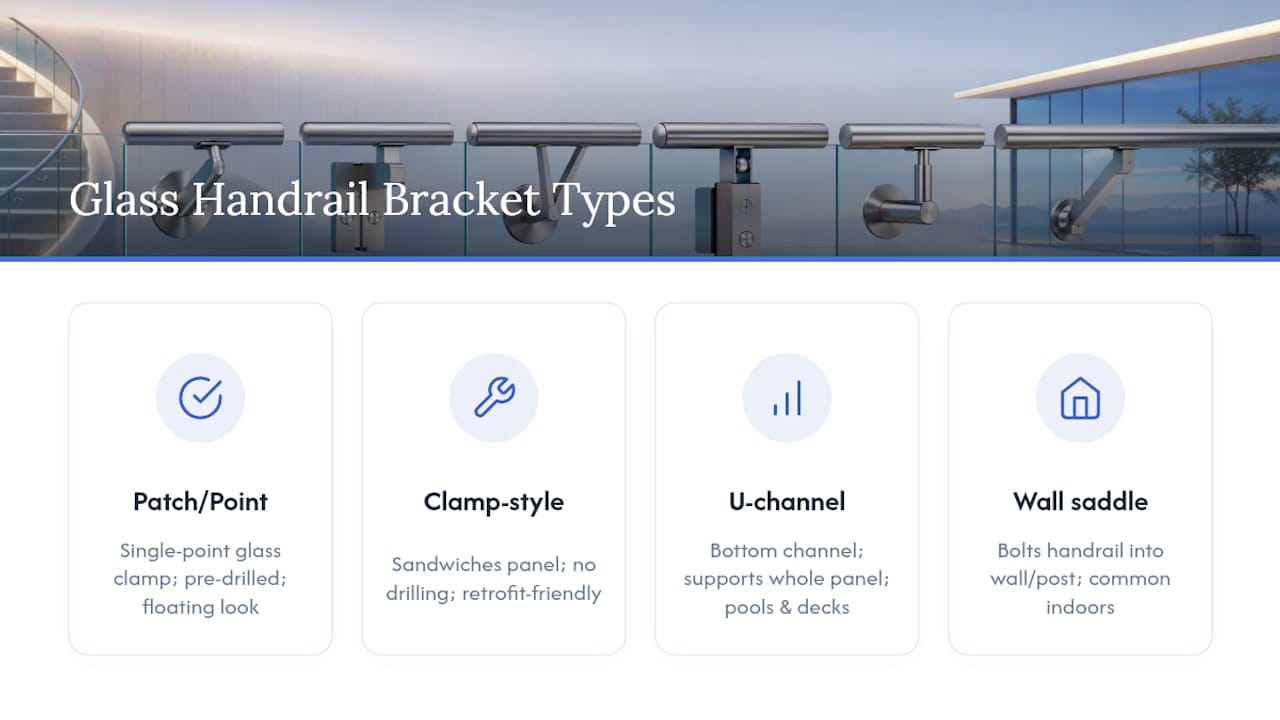
Patch fittings and point clamps grip the glass at a single point, usually near a corner or edge, without needing a full channel. They’re common on frameless balconies where you want the glass to look like it’s floating. The tradeoff: they almost always require pre-drilled holes, so the glass has to be ordered to spec before it’s tempered.
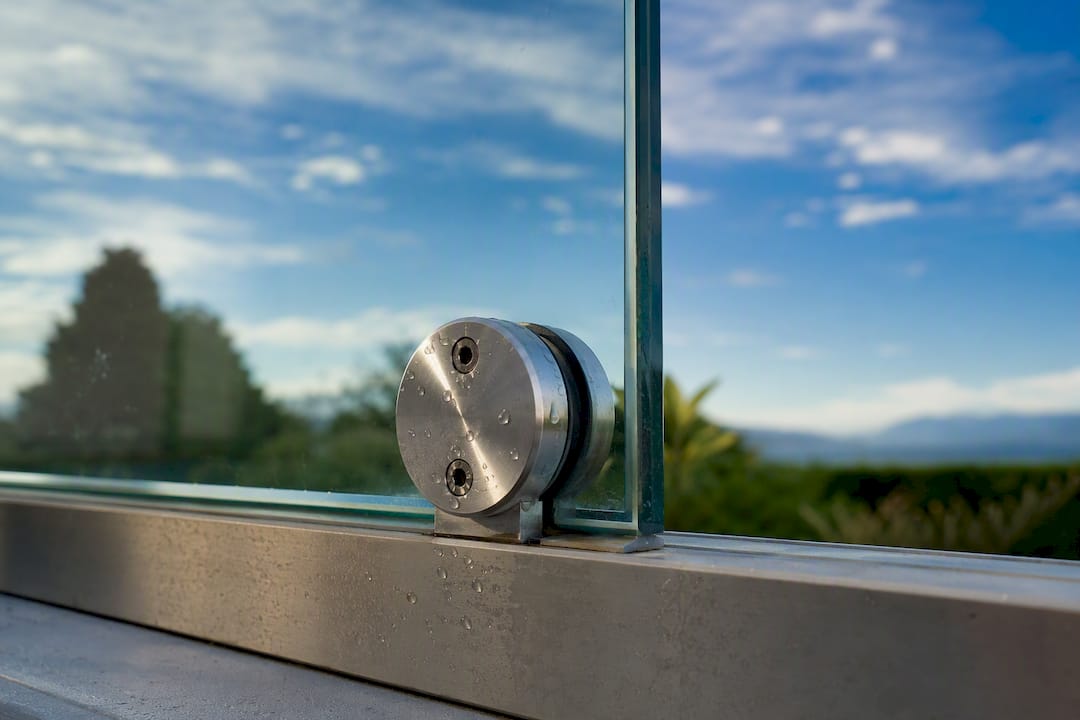
Clamp-style glass-mounted brackets sandwich the panel between two plates and never touch the drilling process at all. That makes them the faster fix for retrofits or DIY projects, though the visible hardware reads a bit more industrial than a drilled patch fitting.
U-channel and base shoe systems run a continuous aluminum or stainless channel along the bottom of the glass, structurally supporting the whole panel rather than a single point. They’re a workhorse for pool fences and deck rails where the glass needs to stand on its own with minimal post interruption.
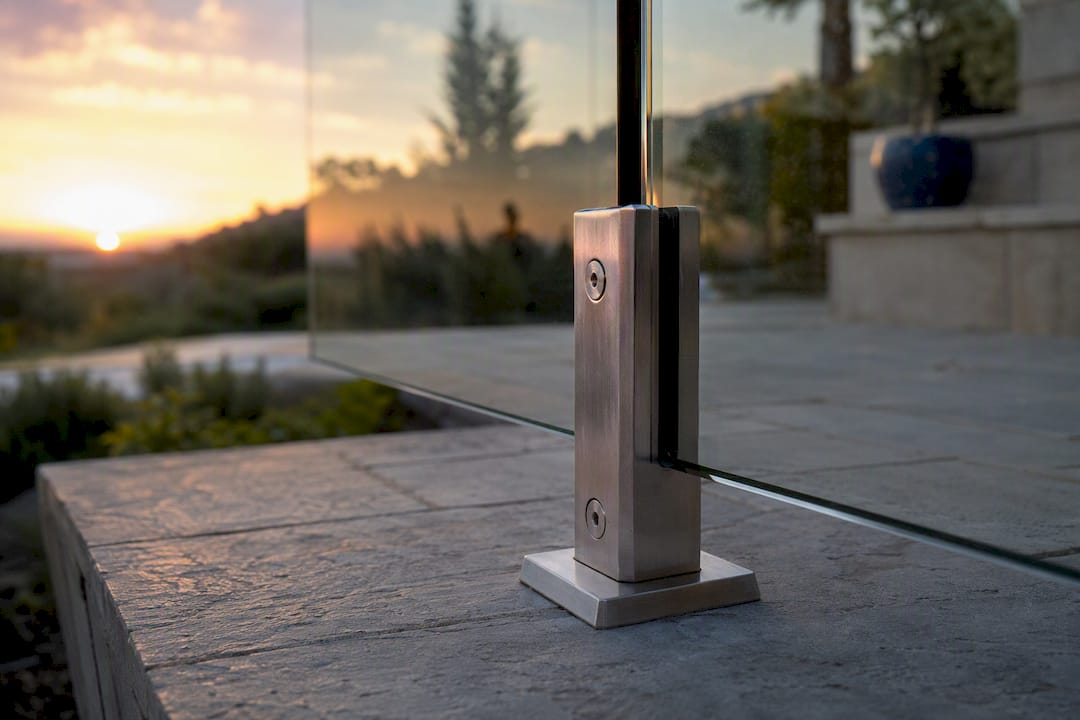
Spigots are individual posts that grip the glass base and bolt to the deck or floor. They give a clean, post-free sightline and pair well with frameless balcony designs.
Top-cap (cap rail) systems run a rail over the top edge of the glass, joining panels with straight or angled connectors. This is the style that gives the cleanest continuous look across a long run.
Fixed and swivel top brackets attach a handrail above the glass. Swivel versions pivot to follow a stair’s pitch, which fixed brackets can’t do.
Wall-mounted saddle brackets skip the glass entirely and bolt the handrail straight into a wall or solid post, common on interior stairs next to masonry or framed walls.
Pro Tip: If your project involves a pitched stair run, don’t force a fixed top bracket to work. A swivel bracket or a side-mounted rail designed for stair handrail height and specs will save you from an uneven, hard-to-grip rail later.
Which Materials and Glass Specs Matter for Safety?
Marine-grade stainless steel, graded SS316, resists corrosion in outdoor and pool environments where standard SS304 stainless will eventually pit and streak. Interior stair brackets rarely need SS316. Exterior deck, pool fence, or coastal installations do, and skipping that upgrade is one of the more expensive mistakes homeowners make when they order hardware on looks alone.
Glass thickness compatibility varies by bracket. Point clamps and patch fittings typically require pre-drilled holes around 3/4 inch (19 mm) in diameter, and that hole has to be specified before the glass goes through tempering. Tempered glass can’t be drilled afterward without shattering it. Clamp-style brackets, spigots, and U-channel systems skip that requirement entirely, gripping the panel’s edge or face instead.
Before ordering anything, confirm:
- Glass thickness matches the bracket’s rated range (commonly 1/2 inch and up for stair applications)
- Whether the bracket needs drilled holes or clamps without them
- The handrail profile fits the bracket’s cap or saddle design
- Bracket spacing stays within the 36 to 48 inch range for the full run
Consistency in spacing and correct anchoring affects overall system safety more than any single bracket’s individual load rating. A rail with mismatched spacing on one section can undermine an otherwise well-built run. For runs longer than a standard residential span, the structure reinforcement guide walks through when extra support becomes necessary.
How Do You Install Glass Handrail Brackets Correctly?
Installation problems rarely come from a bad bracket. They come from skipped steps.
- Measure the full run and mark bracket positions within the 36 to 48 inch spacing window.
- Confirm glass pre-drill specs match your chosen bracket before the glass ships.
- Match anchors to the substrate: concrete, wood framing, and hollow block all need different fasteners.
- Dry-fit the layout before drilling or permanently fixing anything.
- Torque clamps to the manufacturer’s spec. Overtightening stresses tempered glass and can cause hairline fractures that show up months later.
The most common DIY pitfalls: ordering pre-drilled glass with the wrong hole placement, using drywall anchors on a masonry wall (or vice versa), inconsistent spacing that leaves one section of rail looser than the rest, and clamps torqued past spec.
Pro Tip: Use temporary supports to hold the glass in position while brackets are set, then do a load check by hand, leaning on the rail at several points, before removing them.
For elevated decks, long spans, public-access areas, or anything involving a pool gate, bring in a licensed installer or structural engineer. The anchoring best practices guide covers substrate-specific fastening in more depth, and it’s worth reading even if you’re hiring the work out.
How Do You Choose the Right Bracket for Your Project?
Start with location. Interior stairs, exterior decks, and pool enclosures each favor different bracket styles based on exposure and code expectations. Then weigh:
- Look: frameless (spigots, patch fittings) versus capped (top-cap and U-channel systems)
- Glass type: drilled panels versus clamp-compatible panels
- Traffic and load: a rarely used balcony rail has different demands than a main stairway
- Budget: drilled patch fittings and custom spigots generally cost more than clamp-style hardware
- Maintenance: SS316 outdoor hardware needs less upkeep long-term than a lower grade exposed to weather
Before you order, verify glass hole dimensions against your bracket spec, confirm the finish grade matches your environment, and double-check anchor compatibility with your actual wall or deck substrate. Design examples in the outdoor staircase gallery show how bracket choice changes the whole visual line of a stair run.
Ask any supplier for lead time on custom drilled glass, their return policy on hardware, and whether load or engineering test data is available for the specific bracket you’re buying.
Which Store Products Match Each Bracket Type?
| Bracket Type | Matching Product Category | Installation Resource |
|---|---|---|
| Top-cap / cap rail systems | 46" Height Tempered Glass Panel | Installation guide |
| Corner cap rail joints | 90 Connector for Glass Railing | Engineering testing data |
| Wall-mounted saddle brackets | Wall Connector for Glass Railing | Anchoring best practices |
| Straight cap rail runs | Square Caprail Straight Connectors | Installation guide |
| Continuous straight-through runs | 180 Connector for Glass Railing | Structure reinforcement guide |
Each product page lists compatible glass thickness and finish options, and the glass railing installation guide walks through bracket selection for both glass-mounted and frameless setups before you commit to an order.
A Contributor’s Take on Bracket Selection
The checklist approach beats guesswork every time. Confirm glass specs and hardware compatibility before you order anything, and lean on the site’s engineering and testing pages when a spec feels uncertain.
Get the Right Hardware Without the Guesswork
Glassrailingstore stocks the exact connectors and panels this guide walks through, so you’re not stitching together hardware from three different suppliers and hoping the finishes match. 
Every bracket style covered here, from top-cap connectors to wall-mounted saddle hardware, has a matching product page with glass thickness specs and finish options listed up front. Need a custom span or a pool-code application? Reach out for a quote before you order glass, since drilled panels can’t be corrected once they’re tempered. Start with the 46" tempered glass panel if you’re speccing a standard balcony or deck run, or browse the full connector lineup to match your bracket style before you check out.
Recommended
- Selecting Glass Railing Hardware: Complete 2026 Buyer’s Guide – The Glass Railing Store
- Glass Stairs Railing: Handrail Height, 12mm Glass & Specs – The Glass Railing Store
- Anchoring Glass Railings: Best Practices for Stability – The Glass Railing Store
- Glass Railing Support Systems: What You Need to Know – The Glass Railing Store