

Glass Railing for Photography Staging: 2026 Guide
Glass railing for photography staging is defined as a transparent safety barrier that doubles as a visual design element, maximizing natural light and eliminating the visual clutter that opaque railings create in photo shoots. Tempered glass panels, typically 12–21.5mm thick, meet both building code requirements and the aesthetic demands of modern photography setups. Frameless systems using base shoe or spigot mounting create what architects call “invisible barriers,” expanding the perceived space in any frame. For photographers and content creators, that transparency is not just a style choice. It is a direct upgrade to image quality, depth, and light flow.
What Glass Railing Designs Work Best for Photography Staging?
The design you choose shapes the entire mood of your shoot. Glass railing design options fall into five main categories, and each one reads differently on camera.
-
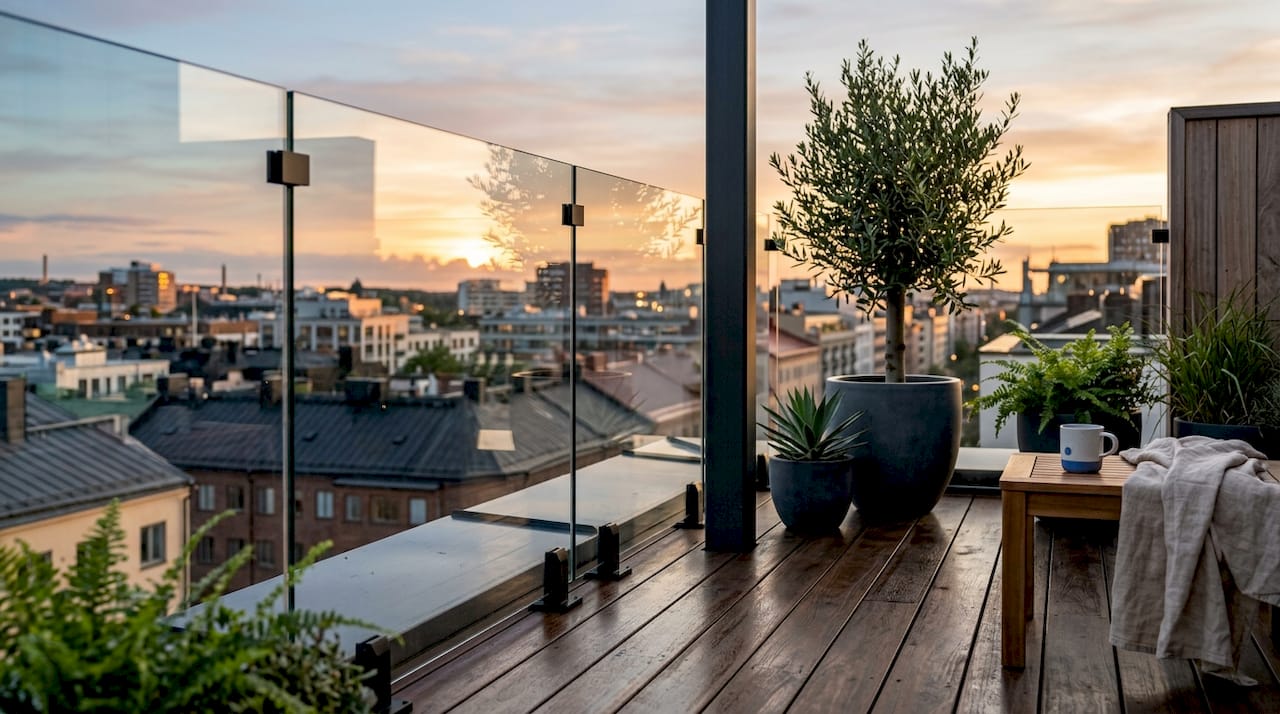
Frameless glass railings: The top choice for minimalist and architectural shoots. Frameless systems use 12–15mm thick tempered or laminated glass with no vertical posts, creating an unobstructed visual field that expands the apparent size of any space. On camera, they disappear into the background, letting your subject and the surrounding environment carry the composition.
-
Stainless steel framed railings: Deliver a modern industrial aesthetic. The metal frame adds visible structure and geometric lines, which work well for editorial shoots, product photography with an urban edge, or any setup where you want the railing to be part of the visual story rather than invisible.
-
Wood-accented railings: Bring warmth and texture to staging. Pairing glass panels with wood top rails or posts softens the look and suits lifestyle photography, real estate shoots, and content that targets a cozy, residential feel. The contrast between the organic wood grain and the clean glass surface creates visual interest without competing with your subject.
- Tinted and frosted glass options Serve a different purpose entirely. Frosted glass railings diffuse light rather than transmitting it directly, which softens harsh shadows and creates a naturally diffused backdrop. Tinted panels add color temperature to the scene, useful when you want a moody or dramatic look without adding artificial gels.
Here is a quick reference for matching design style to photographic mood:
| Design Style | Best For | Visual Effect on Camera |
|---|---|---|
| Frameless glass | Architectural, real estate, lifestyle | Invisible barrier, expanded space |
| Stainless steel framed | Editorial, industrial, product | Geometric lines, structured depth |
| Wood-accented | Residential, lifestyle, warm tone | Organic contrast, textured warmth |
| Frosted glass | Soft portrait, diffused light setups | Blurred backdrop, even light |
| Tinted glass | Moody, dramatic, color-forward | Color cast, atmospheric depth |
Pro Tip: Shoot a test frame before committing to a design. What looks neutral in person can read as cold or sterile on a wide-angle lens. Frameless glass almost always reads cleaner than you expect.
Technical Considerations for Staging with Glass Railings
Getting the technical side right separates a good shoot from a great one. Glass railings introduce variables that most photographers do not encounter with standard backdrops or props.
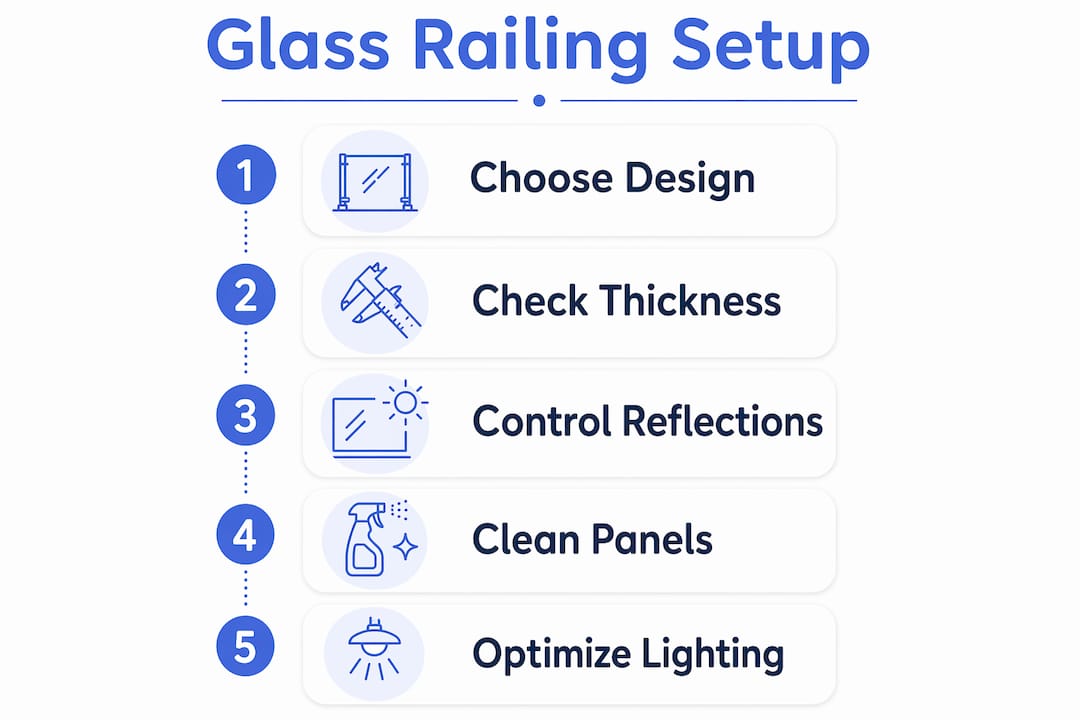
Glass thickness and safety standards matter even in staging contexts. Glass thickness ranges from 12mm to 21.5mm depending on the application, height, and load requirements. Thicker panels are heavier and more stable, which reduces vibration during long exposures. For outdoor staging on decks or balconies, always confirm the railing meets local building codes before positioning crew or equipment nearby.
Follow these steps to prepare your glass railing setup before the first shot:
- Inspect the glass for existing damage: Chips or micro-cracks catch light unpredictably and show up in high-resolution images as bright artifacts.
- Clean the panels completely: Smudges and fingerprints that are invisible to the naked eye show prominently in high-resolution images. Use microfiber cloths and a streak-free cleaner, and wipe the glass immediately before shooting.
- Set your camera height: The ideal shooting height near glass railings is 48–54 inches, which corresponds to chest level. This minimizes vertical distortion and captures a balanced composition that reads naturally.
- Check for crew reflections: Stand at the camera position and look at the glass from multiple angles. Identify any crew members, light stands, or equipment that appear as reflections before you lock in your setup.
- Attach a circular polarizer filter: A circular polarizer reduces glare and unwanted reflections that standard camera settings cannot control. Rotate the filter while looking through the viewfinder until reflections minimize.
- Do a final wipe: Even after setup, handling and movement near the glass will leave new smudges. A second wipe immediately before the first frame is standard practice.
Pro Tip: Keep a dedicated cleaning kit on set at all times during glass railing shoots. Dust and water spots become visually distracting in photos even when they are barely visible on site. A small spray bottle and two fresh microfiber cloths solve 90% of on-set glass problems.
How Do Glass Railings Improve Light and Space in Photography?
Glass railings are one of the few staging elements that actively improve your image rather than simply filling the frame. Glass railings allow uninterrupted natural light to flow through a space, creating cleaner and more airy images than any opaque railing can produce.
The physics are straightforward. Opaque barriers block light and cast shadows across the floor, the subject, and the background. Glass transmits light, so the entire scene stays evenly lit from the available natural source. This is especially valuable during golden hour shoots on decks and balconies, where the low-angle light would otherwise be partially blocked by a solid railing.
Glass also creates the visual illusion of more space. Frameless glass systems with no vertical posts allow the camera to see through the barrier to the environment beyond, effectively doubling the perceived depth of the scene. Real estate photographers use this effect deliberately to make smaller outdoor spaces photograph larger than they are.
To get the most from these light and space benefits, apply these staging principles:
- Shoot during soft light hours. Early morning and late afternoon light enters at low angles and passes through glass panels without creating harsh reflections. Midday sun creates strong specular reflections that require more management.
- Position your subject away from the glass. Placing a person or product 3–5 feet from the railing lets the glass act as a light-transmitting backdrop rather than a reflective surface directly behind the subject.
- Use the view as a natural backdrop. Unobstructed views through glass railings add environmental context that painted or paper backdrops cannot replicate. A city skyline, garden, or water view behind a glass railing creates immediate visual depth.
- Avoid placing artificial lights directly behind the glass. Light sources behind the panel create strong reflections that overpower the scene. Side lighting or overhead diffused light works far better.
Glass railings also add measurable value to property photography. Maximizing natural light through transparent barriers enhances both the aesthetic appeal of the shoot and the perceived value of the property being photographed. That dual benefit makes glass railings one of the highest-return staging investments for real estate content creators.
How Do You Control Reflections When Shooting Near Glass Railings?
Reflections are the primary challenge of glass railing photography. Glass acts like a mirror, and failure to manage reflections directs viewer attention away from the subject and degrades the entire shoot. Treating reflections as a workflow step rather than an afterthought separates professional results from amateur ones.
The most effective reflection control techniques are:
- Shoot at an angle: Positioning the camera slightly off-axis to the glass surface reduces direct mirror-like reflections. A 15–30 degree offset from perpendicular is often enough to eliminate the worst reflections without distorting the composition.
- Use a circular polarizer filter: This is the single most effective optical tool for glass railing photography. Rotate the filter while looking through the viewfinder and stop when reflections drop to their lowest point.
- Control the light ratio: Reflections appear strongest when the light behind the camera is brighter than the light on the other side of the glass. Balancing or reversing this ratio reduces the mirror effect significantly.
- Keep crew and equipment out of the reflection zone: Map the reflection angles before setup and position all crew, lights, and cases outside those zones. Tape marks on the floor help maintain discipline during long shoots.
- Clean between every setup change: Moving equipment, adjusting props, and repositioning subjects all create new smudges. A quick wipe between setups takes 60 seconds and prevents hours of retouching.
Pro Tip: Shoot a polarizer test frame at the start of every glass railing session. Photograph the glass at maximum and minimum polarizer rotation and compare the two frames. The difference will show you exactly how much reflection control you have available before committing to your final angle.
Key Takeaways
Glass railings are the most effective transparent staging element for photographers who need maximum natural light, expanded visual space, and a clean modern aesthetic in both indoor and outdoor shoots.
| Point | Details |
|---|---|
| Design choice shapes mood | Frameless glass disappears on camera; framed and wood-accented styles add visible character. |
| Glass thickness matters | Panels range from 12mm to 21.5mm; thicker glass is more stable for long exposures. |
| Camera height is fixed | Shoot at 48–54 inches to minimize vertical distortion near glass railings. |
| Reflections require active management | Use a circular polarizer filter and control light ratios to prevent mirror-like distractions. |
| Cleaning is a workflow step | Wipe glass immediately before shooting and between every setup change to avoid high-res smudges. |
Why Glass Railings Changed How I Think About Staging
I used to treat railings as a problem to work around. You frame them out, you shoot past them, or you replace them with something neutral. Glass railings changed that entirely. The first time I staged a balcony shoot with a frameless system, I realized the railing was not competing with the scene. It was extending it.
The biggest mistake I see photographers make is treating glass like a window. They assume it is neutral and move on. Glass is not neutral. It is active. It picks up every light source in the room, every crew member standing at the wrong angle, and every smudge from the last person who touched it. The photographers who get consistently great results from glass railing setups are the ones who build reflection management and cleaning into their pre-shoot checklist, not their post-production workflow.
The creative upside is real, though. A well-positioned frameless glass railing on a deck or staircase gives you a staging element that adds depth, transmits light, and reads as architectural quality without overwhelming the subject. Frosted and tinted options open up even more creative directions when you want the railing itself to contribute texture or color to the frame. The key is knowing which design serves your shot before you arrive on set.
— Fuanne
Glassrailingstore Products for Your Next Staging Shoot
Photographers who want consistent results from glass railing setups need panels and hardware that perform reliably on set and look sharp on camera.

Glassrailingstore carries 46" tempered glass panels built to the safety and clarity standards that make them ideal for staging projects. The panels are available in standard and custom glass railing configurations, so you can match the exact dimensions and aesthetic of your shoot location. Whether you are setting up a frameless balcony system for a real estate shoot or a stair railing for a lifestyle campaign, Glassrailingstore offers the hardware, connectors, and planning support to get the installation right before your crew arrives.
FAQs
1. What glass thickness is best for photography staging?
Tempered glass panels in the 12–15mm range work well for most staging setups, providing stability and optical clarity. Panels up to 21.5mm are available for larger spans or outdoor installations with higher load requirements.
2. How do I prevent my reflection from appearing in glass railing shots?
Position the camera at a 15–30 degree angle to the glass surface and use a circular polarizer filter. Controlling the light ratio between the camera side and the far side of the glass also reduces mirror-like reflections significantly.
3. Do I need to clean glass railings before every shoot?
Yes. Smudges and fingerprints invisible to the naked eye show clearly in high-resolution images. Wipe the panels with a microfiber cloth and streak-free cleaner immediately before shooting and again between setup changes.
4. Can frosted glass railings work as photography backdrops?
Frosted glass diffuses light rather than transmitting it directly, creating a soft, even backdrop that works well for portrait and product photography. It eliminates harsh reflections while still maintaining the open, airy quality of glass.
5. What camera height works best near glass railings?
Shoot at 48–54 inches, which corresponds to chest level. This height minimizes vertical distortion and produces balanced compositions that read naturally when photographing spaces with glass railings.
Recommended
- Glass Stairs Railing: Handrail Height, 12mm Glass & Specs – The Glass Railing Store
- Glass Railing for Podium Deck Design: 2026 Guide – The Glass Railing Store
- Glass Railing for Modular Construction: A Pro Guide – The Glass Railing Store
- DIY glass stair railing: A complete homeowner’s guide – The Glass Railing Store