

Frameless or Semi-Frameless: Choosing Your Stair Glass Railing Design
For most modern stair projects, the winning combination is frameless or slim semi-frameless glass panels paired with marine-grade stainless hardware and a wood or stainless glass railing caprail. That mix keeps the view open, reads as contemporary rather than institutional, and holds up outdoors and in.
- Frameless spigot or base-shoe systems preserve sightlines and natural light better than any framed alternative, which is why glass railing has become one of the fastest-growing luxury upgrades in American homes.
- Expect tradeoffs in cost and cleaning versus painted balusters.
- Check your local building department’s guard height and glazing rules before ordering, and pull panel specs from a supplier like Glass Railing Store so your fabrication order matches code the first time.
Key Takeaways
Frameless or semi-frameless glass with tempered or laminated safety glazing, marine-grade hardware, and a code-verified guard height delivers the most durable, view-preserving stair railing for most homes.
| Point | Details |
|---|---|
| Match mounting to construction stage | Frameless spigot systems work best planned during framing; retrofits favor side-mount or semi-frameless posts. |
| Specify glass correctly | Use tempered glass at a half-inch minimum for most stairs, and laminated in higher-risk stairwell locations. |
| Budget for complexity, not just size | Floating stairs and sloped panels cost more than straight runs due to custom fabrication. |
| Verify code before ordering | Guard height and glazing rules vary by state, so confirm locally before finalizing panel dimensions. |
| Source panels and hardware together | Glassrailingstore supplies tempered glass panels and 316 stainless connectors sized to match your mounting system. |
Where to Go for Specs and More Inspiration
- 46-inch tempered glass panels and connector hardware for direct ordering.
- State-by-state height requirements for code checks.
- Additional design coverage from Architectural Digest, Houzz, Heir Glass, Fab Glass & Mirror, and Specialized Stairs.
Table of Contents
- Glass Stair Railing Design Ideas Worth Stealing
- What Are the Main Types of Glass Railing Systems?
- Choosing Glass Thickness, Hardware, and Cap Rail Materials
- How Much Does Glass Stair Railing Cost?
- What Height and Glass Standards Does Code Require?
- What to Prepare Before You Order Glass Panels
- Common Mistakes to Avoid During Design and Installation
- Comparison of DIY Installation Versus Hiring Professionals
- Environmental and Sustainability Considerations in Material Choices
- How to Measure and Plan for Custom Glass Panels
- What the Research Actually Supports About Glass Stair Design
- Get Your Stair Railing Specs Right the First Time
- Sources
Glass Stair Railing Design Ideas Worth Stealing
The pairing matters more than the glass itself. Low-iron glass with a warm wood cap rail softens what could otherwise feel clinical, and it’s the combination Architectural Digest keeps circling back to in coverage of staircases as architectural statements rather than afterthoughts. Matte black posts against clear glass do the opposite job: they add graphic contrast in a loft or industrial-style build where you want the hardware to read as intentional, not invisible.
Three pairings consistently outperform the rest in real installations:
- Low-iron glass and a walnut or white oak cap rail. This is the move for open-plan entries where you want the staircase to feel like furniture, not infrastructure.
- Frosted bands at hip and eye height with clear glass above and below. Useful on landings that face a living room, giving privacy without blocking the light that a solid wall would kill.
- Smoked or lightly tinted glass with slim stainless posts. This reads as deliberate drama on a floating stair, especially under LED accent lighting.
Lighting integration is where budgets tend to grow. LED strips set into an under-tread channel or the base shoe cost more upfront but transform a staircase after dark, and designers increasingly treat that lighting as part of the architecture rather than an accessory, mixing it with sculptural forms and tactile materials like textured plaster or reclaimed wood risers.
Indoor and outdoor expectations diverge here. A frosted privacy band works fine on an interior landing but adds glare and cleaning headaches on a deck. Floating stairs paired with glass guards look spectacular in renovations with double-height entries, but they demand the most coordination between the stair fabricator and the railing supplier, since the guard is structurally tied to the tread design rather than added after the fact.
What Are the Main Types of Glass Railing Systems?
Every glass stair railing design boils down to how the panel attaches to the structure, and that choice drives everything else, from glass thickness to how much backing your framer needs to add.
- Frameless systems use a base channel or individual spigots bolted through the tread or fascia, leaving nothing but glass and hardware visible. Installers commonly categorize these as dadoed, standoff, or clamped setups, and each requires different backing behind the finish material.
- Semi-frameless systems use slim vertical posts, usually stainless or powder-coated aluminum, with the glass captured between them. You lose a little transparency but gain forgiveness on tolerances.
- Framed or post-mounted systems use a full top and bottom rail, which is the least “invisible” look but the easiest to retrofit onto an existing wood-framed stair.
- Top-mount works best on new construction where you control the structural blocking. Side-mount suits retrofits where the tread edge can’t take a channel. Core-mount (drilled into a concrete or masonry stair) needs the thickest glass and the most precise drilling template.
Mounting choice isn’t cosmetic. A spigot system needs thicker glass and solid blocking underneath; a slim-post system spreads the load and tolerates more variance in an older stair’s geometry.
Choosing Glass Thickness, Hardware, and Cap Rail Materials
Glass spec is where a stair glass railing design either performs for twenty years or starts looking cloudy and loose within five. Panels typically run 3/8 inch to 3/4 inch depending on system and span, and most residential guard applications settle around a half-inch tempered minimum for adequate strength without excess weight.
- Choose low-iron, or ultra-clear, glass whenever the view matters. Standard glass carries a green tint that’s barely noticeable on a small panel but obvious across a full flight.
- Specify 316 marine-grade stainless hardware for spigots, standoffs, and clamps, especially near coastal air or a pool deck.
- Compare tempered versus laminated glass options before finalizing your order, since the two behave very differently if a panel ever breaks.
- Wood cap rails need periodic resealing outdoors; a stainless or aluminum cap rail costs more upfront but skips that maintenance entirely.
Pro Tip: Wipe glass with a squeegee after rain rather than letting hard water spot it. Mineral buildup on low-iron glass is far more noticeable than on tinted panels, precisely because the glass is so clear.
How Much Does Glass Stair Railing Cost?
Panel size and count drive most of the bill, but glass type, mounting method, hardware finish, and any slope in the run all stack on top of that. A straight run of frameless panels with standard tempered glass sits at the low end of the range; add low-iron glass, a spigot system, and a custom cap rail, and the number climbs fast.
Floating stairs and sloped guard panels are the biggest cost multipliers on any project. Fabricating angled panels and coordinating them with a cantilevered tread structure adds both engineering time and glass waste, since sloped cuts can’t be reused across a run the way straight panels can.
Where can you save without gutting the design?
- Semi-frameless posts instead of spigots cut both hardware and labor cost.
- Standard tempered glass instead of low-iron saves money if the stair isn’t the visual focal point of the room.
- A straight run instead of a curved or sloped one avoids custom fabrication charges entirely.
Get quotes based on linear footage of guard, not just “per stair,” since flight length varies enormously between a short landing run and a full two-story stair.
What Height and Glass Standards Does Code Require?
Skipping the code check is the single most expensive mistake in this entire process, because a rejected inspection means re-ordering panels. Most residential guard requirements land in a familiar range, but the exact number, along with rules on glazing type and infill spacing, varies by state and sometimes by municipality.
- Guard height requirements are set locally. Confirm the number your jurisdiction requires before you finalize panel height, not after.
- Handrail height (where a separate graspable rail is required) follows its own, often different, standard from guard height.
- Tempered glass is the baseline safety glazing for stair guards. Tempered panels break into small, pebble-like granules rather than sharp shards, which is why code accepts it for this application.
- Laminated glass holds broken fragments to an interlayer instead of releasing them, and many inspectors prefer or require it in higher-risk spots like open stairwells above a lower floor.
- Standoff and side-mount systems need solid blocking behind the finish material. A spigot bolted into unsupported drywall or a thin fascia board will fail inspection and, worse, fail structurally.
Coordinate the guard as part of the stair’s structural design from day one. Adding a frameless glass guard late in a build, after the tread and stringer decisions are locked, typically forces more expensive retrofitted blocking than if the railing supplier had been in the room during framing.
Always confirm your state’s specific height requirements and loop in a licensed installer before finalizing an order, particularly on any project with a permit involved.
What to Prepare Before You Order Glass Panels
Getting an accurate quote, and avoiding a second shipment, comes down to what you hand the fabricator before they cut anything.
- Take clear site photos of every run, including the tread nosing, any existing structure, and the surrounding finish materials.
- Provide dimensioned drawings or a template of each panel location, noting any out-of-square conditions in an older stair.
- Confirm lead times with your supplier and plan protection for panels during the rest of construction; a scratched or chipped edge on tempered glass means the whole panel gets replaced.
- Ask suppliers directly about glass spec, hardware grade, packing method for shipping, warranty terms, and whether installation is included or your contractor handles it.
- Loop in a structural engineer or building inspector early on any floating stair or heavily sloped run, since the guard connection is part of the structural picture, not a finish detail added afterward.
Pro Tip: Order 5 to 10 percent extra glass beyond your measured count to cover breakage during shipping or install. Reordering a single custom panel later can cost more, and take longer, than the extra piece would have.
Who’s Behind This Guide
This piece draws on Fuanne’s ongoing coverage of glass railing design and installation for Glass Railing Store, including deep dives into residential stair applications and refined modern stair design.
- Glass Railing Store fabricates tempered and laminated panels to spec, with detailed measurement and installation guides for each system type.
- Hardware is sourced to marine-grade standards for coastal and high-humidity climates.
- Product and spec pages let readers cross-check thickness, hardware finish, and connector type before ordering.
Common Mistakes to Avoid During Design and Installation
The most frequent error is ordering glass before the mounting method is finalized. Spigot systems, base-channel systems, and post systems each need a different glass thickness and edge treatment, and switching after fabrication means a new order, not an adjustment.
A close second: measuring once. Stairs, especially in older homes, are rarely perfectly square or level from top to bottom. A single measurement at the top of the run doesn’t account for drift lower down, and that drift shows up as a visible gap or a panel that won’t seat correctly.
Homeowners also underestimate how much lighting placement matters before installation, not after. Retrofitting an LED channel into a base shoe that’s already bolted down usually means removing panels you just installed.
On the design side, the biggest miss is choosing a glass type that doesn’t match the room’s actual privacy needs. Full clear glass on a stair that overlooks a shared entry or a home office can feel exposed in practice, even though it looked great in a rendering. And skipping the code check until after ordering panels is the mistake that costs the most money, since a guard height that fails inspection means new glass, not a simple adjustment to existing hardware.
Comparison of DIY Installation Versus Hiring Professionals
DIY glass railing installation is realistic for straightforward, short runs using a semi-frameless or framed system with generous tolerances. Kits designed for this market include drilling templates and forgiving hardware that accommodates minor measurement error, and a careful homeowner with basic tools can complete a short deck or balcony run in a weekend.
Stairs are a different case. The geometry is more complex, tolerances are tighter because of the tread nosing and sloped handrail, and a mistake in a spigot placement is far more visible, and more dangerous, on a stair than on a flat deck railing. Frameless spigot and channel systems in particular reward precision that most first-time installers don’t yet have.
Hiring a professional installer costs more upfront, but it buys you warranty coverage on both the glass and the labor, correct blocking behind standoffs, and a result that passes inspection the first time. For a floating stair or any run where the guard ties into structural framing, professional installation isn’t really optional. The connection points carry real load, and getting them wrong risks both the glass and the person standing next to it.
A reasonable middle ground: order panels and hardware from a supplier, and hire a local installer just for the mounting and leveling work, splitting the labor cost from the material cost.
Environmental and Sustainability Considerations in Material Choices
Glass itself is one of the more sustainable building materials available. It’s recyclable, doesn’t off-gas, and, unlike painted wood balusters, never needs stripping or repainting to stay looking new. A well-installed glass guard can last decades with nothing more than routine cleaning, which stretches its environmental footprint over a much longer service life than lower-cost alternatives that need periodic replacement.
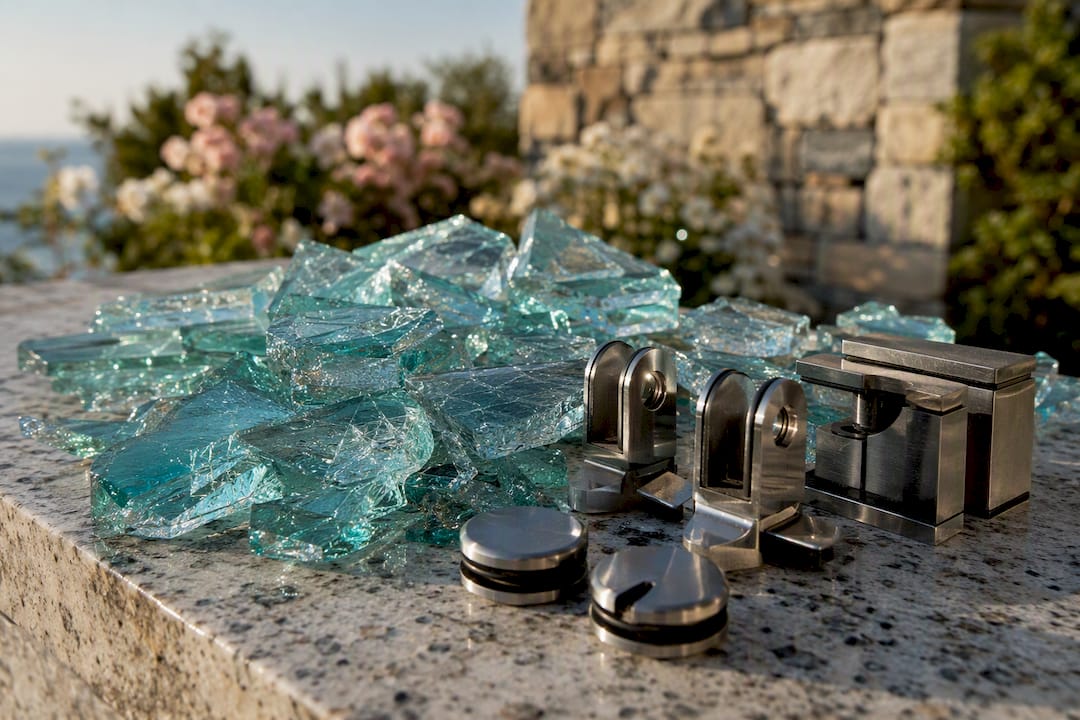
Hardware choice matters more than most people realize here. Marine-grade 316 stainless resists corrosion for decades in coastal or humid climates, while lower-grade hardware corrodes and needs replacement, generating waste and repeat manufacturing emissions. Choosing the right grade the first time is itself a sustainability decision, not just a durability one.
Wood cap rails made from responsibly sourced hardwood pair well with glass for a warmer, lower embodied-energy look than an all-metal system, though they do require periodic sealing to maintain that lifespan outdoors. For readers weighing material warmth against upkeep, a related consideration shows up in interior glass door treatments, where the same clear-versus-textured tradeoff plays out on a smaller scale.
Local fabrication also cuts shipping distance and breakage risk compared with imported panels, which reduces both cost and the embodied carbon of getting large, heavy glass safely to your site.
How to Measure and Plan for Custom Glass Panels
Every custom panel starts with a full-run template, not a tape measure guess. Because most stairs aren’t perfectly consistent from top to bottom, professional fabricators typically template each individual bay rather than assume one measurement applies to the whole run.
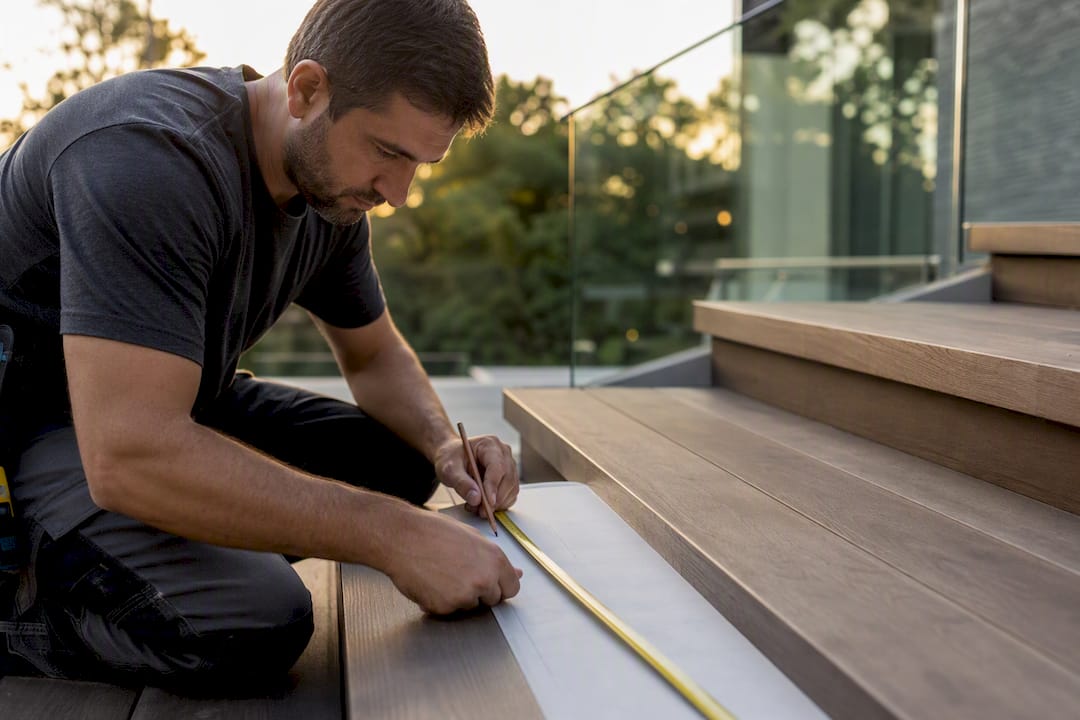
Start by measuring the total run length and the height from tread to your required guard height at multiple points, not just one. Note any variation in tread depth or nosing projection, since that affects how a base-shoe or spigot system seats. Photograph each transition point, especially where the stair meets a landing or turns, since these spots often need a specially shaped panel rather than a standard rectangle.
If you’re planning integrated lighting, decide the channel location before templating, since the panel height or base-shoe design may need to change to accommodate it. For sloped runs, note the exact rake angle. A connector piece that changes direction, or a wall connector for a side-mount retrofit, needs its own precise angle measurement, not an estimate.
Once templates are confirmed, expect a fabrication lead time before panels ship, and build that into your construction schedule so the stair isn’t sitting without a guard longer than necessary.
What the Research Actually Supports About Glass Stair Design
Most advice on this topic treats the railing as decoration, something you pick after the stair itself is designed. That’s backward, and it’s the single biggest gap between how these projects get planned and how they actually turn out well. The guard is structural hardware wearing a design decision’s clothes. Treat it that way from the first framing conversation, and the “which glass looks best” question gets a lot easier to answer, because half your options were never structurally sound in the first place.
The other overrated idea is that clear, frameless glass is always the right call. It’s the right call when the view earns it. A stair that faces a shared hallway or a home office doesn’t need maximum transparency, and a frosted band or a smoked panel isn’t a compromise there, it’s the better design decision.
If you take one thing from this guide, prioritize the mounting method and code check before you fall in love with a finish. Everything else, wood versus stainless cap rails, clear versus tinted glass, is a preference. Structural coordination and guard height are not.
— Fuanne
Get Your Stair Railing Specs Right the First Time
Glassrailingstore cuts out the guesswork that sends homeowners back to a fabricator for a second order. Every panel ships to spec, tempered or laminated, low-iron or standard, with hardware graded for your climate, so what arrives on your porch matches what your installer actually needs.

If you’ve read this far, you already know that mismatched glass thickness or the wrong hardware grade is the expensive mistake to avoid. Glassrailingstore’s product pages list exact specs for every panel and connector, so you can compare against your local code requirements before you commit to an order rather than after. That includes 46-inch tempered panels sized for standard residential stair guards and 90-degree connectors for runs that turn a corner.
Start by pulling your measurements and checking your state’s height requirement, then browse panel specs at Glassrailingstore to build a quote that matches what your inspector will actually approve.
Sources
- Glass Railing Guide for U.S. Homeowners | DIY Luxury Deck & Balcony Solutions
- 5 Things You Need To Know About Glass Railing - Specialized Stair & Rail
- Stair railing ideas that elevate interior design | Architectural Digest
- Floating Glass Staircase: Design, Cost & Planning Guide – Elevated Stairs
Recommended
- Frameless vs. Framed Glass Railings: Design Differences Explained – The Glass Railing Store
- Frameless Glass for Stairs, Decks, and Balconies: Where It Works Best – The Glass Railing Store
- Modern Glass Stair Railing: A More Refined Staircase Design – The Glass Railing Store
- Types of Glass Railings: A Comprehensive Overview – The Glass Railing Store