

How to Secure Glass Railing Posts the Right Way
Glass railing posts that shift, wobble, or fail under load are not just frustrating. They are dangerous. Knowing how to secure glass railing posts correctly is the difference between a deck that looks stunning for decades and one that becomes a liability after the first hard winter. Whether you are installing glass railing on a new deck, replacing an aging system, or troubleshooting a recent install, the fundamentals are the same: the right materials, the right anchoring method, and a clear understanding of what your local code actually requires.
Table of Contents
- Key takeaways
- How to secure glass railing posts: tools, materials, and prep
- Step-by-step installation: fastening posts securely
- Common mistakes and how to fix them
- Verifying security and code compliance
- My take on what actually makes the difference
- Get the right hardware from Glassrailingstore
- FAQ
Key takeaways
| Point | Details |
|---|---|
| Code compliance comes first | Check local AHJ requirements before purchasing hardware since local rules often exceed national standards. |
| Substrate determines anchoring method | The material your posts mount to dictates which fasteners and anchors you need for a stable install. |
| Torque matters on glass clamps | Overtightening clamps can crack tempered glass, so use a torque wrench and follow manufacturer specs. |
| Post mounting style affects aesthetics | Base-mounted and side-mounted posts each offer different visual results and require different installation approaches. |
| Annual inspections protect your investment | Checking clamps, seals, and hardware every year keeps the system safe and extends its lifespan. |
How to secure glass railing posts: tools, materials, and prep
Getting your glass railing post installation right starts well before you pick up a drill. The preparation phase is where most DIY projects succeed or fail, and glass railing is less forgiving than a wood fence.
What you need on hand
Before you start, gather these tools and materials:
- Hammer drill (for concrete substrates) or standard drill (for wood)
- Torpedo level and a long level or laser level
- Chalk line or measuring tape
- Stainless steel or zinc-plated anchors rated for your substrate
- Post base plates and appropriate lag screws or anchor bolts
- Torque wrench for clamp tightening
- Glass panel clamps or spigots (matched to your panel thickness)
- Safety glasses and work gloves
- Sealant or flashing tape for waterproofing around post bases
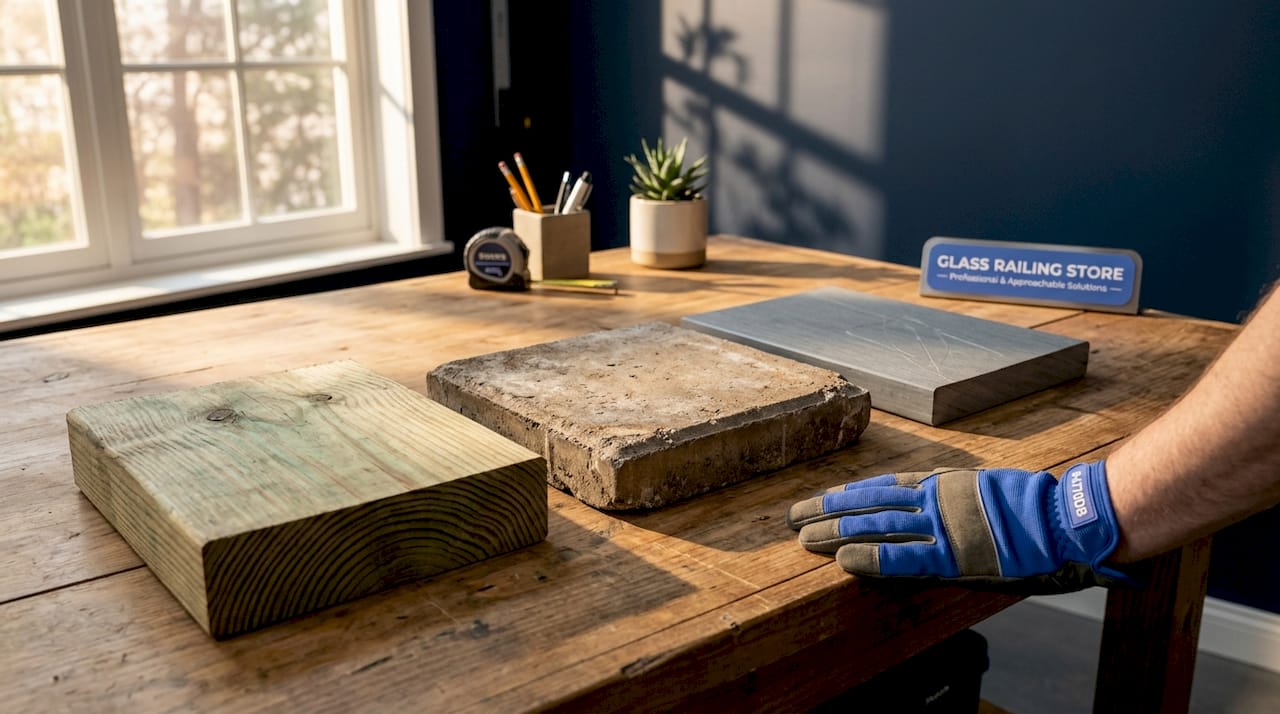
Know your post type and substrate
Base-mounted posts sit on top of the deck surface and are the most common option, while side-mounted posts attach to the fascia or rim joist and free up surface space. Both approaches are valid, but they call for completely different anchoring hardware and fastener placement. Picking the wrong method for your substrate leads to wobble that no amount of tightening will fix.
Your substrate matters just as much as your post type. Wood decks, concrete slabs, composite decking, and steel framing all have different load requirements and fastener compatibility. Composite decking, for example, often requires blocking or a steel reinforcement plate beneath the post base because composite alone lacks the shear strength to hold a railing post under lateral load.
Code and permit checks before anything else
Local AHJ requirements frequently impose stricter rules than the International Building Code or International Residential Code, and a project that meets national standards can still get rejected at inspection. Pull your permit, download the relevant sections of your local code, and call your building department if anything is unclear. This step takes an hour and can save you weeks of rework.
Pro Tip: Ask your building department specifically about glass railing post spacing and embed depth requirements. These two specs are the ones most commonly missed on residential installs.
Step-by-step installation: fastening posts securely
With your tools gathered and your code requirements confirmed, you are ready to work through the installation. Take your time on each step. Rushing the layout or the anchoring phase creates problems that show up months later.
-
Mark your post locations. Measure from the edge of the deck and mark post positions with a chalk line. Most systems call for posts spaced 36 to 48 inches apart, but confirm with your specific hardware manufacturer. Use a square to check each mark relative to the deck framing.
-
Prepare the mounting surface. For wood substrates, pre-drill pilot holes to prevent splitting. For concrete, use a hammer drill to bore holes to the depth specified by your anchor manufacturer. Blow out concrete dust from the holes before setting anchors. Debris left in the hole reduces anchor holding strength significantly.
-
Install anchors and base plates. Set expansion anchors or epoxy anchors into concrete per manufacturer specs. On wood, run lag screws through the base plate and into the joist or blocking beneath, not just through the decking boards. Torque each fastener to the specified value. Finger-tight is not tight enough, and past the spec is too much.
-
Set and level each post. Drop the post over the anchor hardware and hand-tighten the base plate nuts. Place a level on two perpendicular faces of the post and adjust until plumb. Then torque to spec. A post that is even slightly out of plumb will cause your glass panels to sit crooked, and the misalignment becomes obvious from every angle.
-
Attach clamps or spigots. Glass railing systems use either surface-mounted clamps or recessed spigots to hold the panels. Slide clamps onto the post before mounting if your system requires it. Position them at the height specified in your plans, typically factoring in the finished glass height to meet the 36-inch minimum required by most residential building codes.
-
Insert glass panels. Lift each panel into the clamps or spigots with a second person helping. Tempered or laminated safety glass in 10 to 12 mm thickness is standard for most residential applications. Set rubber gaskets or setting blocks under the panel edge to prevent direct glass-to-metal contact. This cushions vibration and prevents stress fractures over time.
- Tighten clamps to spec. Use a torque wrench.
Overtightening clamps is one of the most common causes of glass breakage in the field. Tighten in a cross pattern if the clamp has multiple bolts, distributing pressure evenly across the glass face. If the manufacturer says 8 foot-pounds, hit 8 foot-pounds and stop.
Pro Tip: Do a dry-run assembly with one panel before installing all of them. This lets you confirm clamp height, panel fit, and gasket seating before you are committed to the full run.
Common mistakes and how to fix them
Even experienced contractors make errors when installing glass railings. Here is where things go wrong most often and what to do about it.
-
Skipping the AHJ check. Neglecting local requirements can cause project rejection even when national code is met. This mistake costs time and money. Check before you order hardware.
-
Anchoring into the wrong substrate layer. Driving lag screws into decking boards instead of the joist below gives you a post that passes the palm test but fails under real lateral force. Always fasten into structural framing.
-
Skipping a laser level. A post that looks plumb by eye can be a quarter-inch off. Across six posts, that adds up to visible misalignment in the glass run. Use a laser level for the full layout.
-
Ignoring vibration. Precision-fit fasteners and thorough substrate evaluation are what separate installations that feel solid from ones that rattle in the wind. Loose fasteners allow micro-movement that loosens hardware over time.
- Loose panels after installation. If a panel slips or rocks after installation, check whether the setting blocks have compressed or shifted. Re-seat the panel, confirm the clamps are properly torqued, and inspect the post base for movement.
“The most expensive mistake in glass railing installation is anchoring posts without properly evaluating the substrate first. A post that moves at the base will eventually compromise every connection above it.”
For code-compliant repairs on balconies and similar structures, a specialist in SB-721 compliant repairs can also help you identify substrate issues before they become structural failures.
Verifying security and code compliance
Once every post is set and every panel is in place, verification is not optional. This is the stage that confirms the installation is actually safe, not just visually complete.
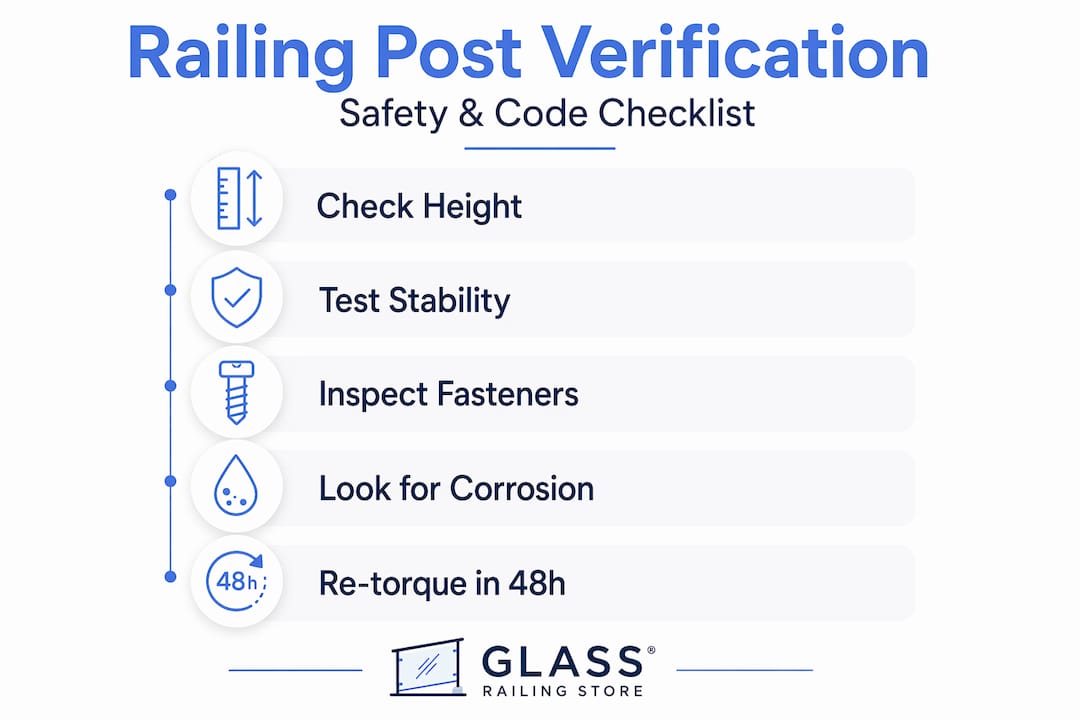
| Check | Standard | How to verify |
|---|---|---|
| Railing height | 36 inches minimum (residential) | Measure from deck surface to top of rail |
| Gap between panels | 4 inches maximum | Insert a 4-inch ball or gauge between panels |
| Post stability | No deflection under 200-lb lateral load | Apply firm lateral pressure to each post |
| Glass specification | Tempered or laminated, 10-12 mm | Check manufacturer certification label on glass |
| Fastener tightness | Per manufacturer torque spec | Re-check with torque wrench after 48 hours |
The 48-hour re-torque is often skipped but matters. Fasteners in new installations can relax slightly as the system settles, especially in wood substrates where fibers compress under load. A quick pass with a torque wrench two days after installation catches any that have backed off.
Annual inspections should include checking all clamps and seals, looking for corrosion at fastener heads, and cleaning glass with a non-abrasive cleaner. Systems with quality aluminum posts and powder-coat finishes resist corrosion well, but the hardware connections still need attention. You can find the American building code requirements for glass railing on the Glassrailingstore resource page to cross-check your final measurements against the applicable standards.
My take on what actually makes the difference
From what I have seen across dozens of glass railing installs, the technical steps are rarely where people struggle. What trips up even careful DIYers is the sequence of decisions that happen before the drill comes out.
In my experience, the single most overlooked step is the local AHJ check. Homeowners read the IBC, buy code-compliant glass, and then discover their county requires a guardrail engineering letter or a different post embed depth. That discovery at inspection is brutal.
I have also learned to treat substrate evaluation as a non-negotiable. Attaching posts to rotted rim joists or undersized blocking is something I have personally corrected on installs that were otherwise well done. The post looks fine until someone leans against it. If the substrate is questionable, sister in new framing or pour a concrete footing before you set a single post base.
On the hardware side, I will always advocate for powder-coated aluminum posts in coastal or wet climates. They handle the thermal cycling and moisture that eventually compromise cheaper materials. Pair those with marine-grade fasteners and your system will still look and perform like new a decade from now.
If your project involves complex geometry, multiple levels, or an unusual substrate, get a professional consultation before you commit to a layout. One hour with someone who has done it before is worth far more than three hours of teardown and reinstall.
— Fuanne
Get the right hardware from Glassrailingstore

Glassrailingstore carries everything you need for a code-compliant, professional-grade installation. From engineered spigots and aluminum posts to tempered glass panels and marine-grade connectors, every product is tested and built for lasting outdoor performance. The building code resource pages walk you through residential and commercial requirements so you go into your project already knowing what your inspector expects. Products are backed by a no-rust warranty and engineering certifications that give you confidence before the first fastener goes in. Browse the full catalog at Glassrailingstore or request a quote for your specific project dimensions.
FAQ
1. What is the minimum height for a glass railing post?
Residential deck railings must be at least 36 inches tall, measured from the deck surface to the top of the rail. Some jurisdictions require 42 inches for decks above a certain height, so verify with your local building department.
2. How do I keep glass railing posts from wobbling?
Wobble almost always comes from inadequate anchoring into structural framing or incorrect fastener torque. Make sure lag screws reach a joist or blocking, use a torque wrench to hit the specified value, and re-check tightness 48 hours after installation.
3. Can I install glass railing posts into composite decking?
Yes, but composite decking alone lacks the shear strength needed for post bases. You need a steel reinforcement plate or solid blocking installed beneath the decking to give the fasteners something structurally sound to bite into.
4. What type of glass is required for railing panels?
Building codes require tempered or laminated safety glass, typically 10 to 12 mm thick depending on post spacing and local jurisdiction standards. Always confirm the glass certification label before installation.
5. How often should I inspect glass railing hardware?
Annual inspections are the standard recommendation. Check clamps, seals, fastener tightness, and the base of each post for signs of corrosion or movement every year, and after any major storm or impact event.
Recommended
- How to install deck railing for a safe, stylish deck – The Glass Railing Store
- Top Glazing Tape Solutions for Secure Glass Railings – The Glass Railing Store
- Glass Railing Engineering Testing – The Glass Railing Store
- Glass railing durability: Build it right, build it to last – The Glass Railing Store