

How to Replace Railing Panels: A 2026 DIY Guide
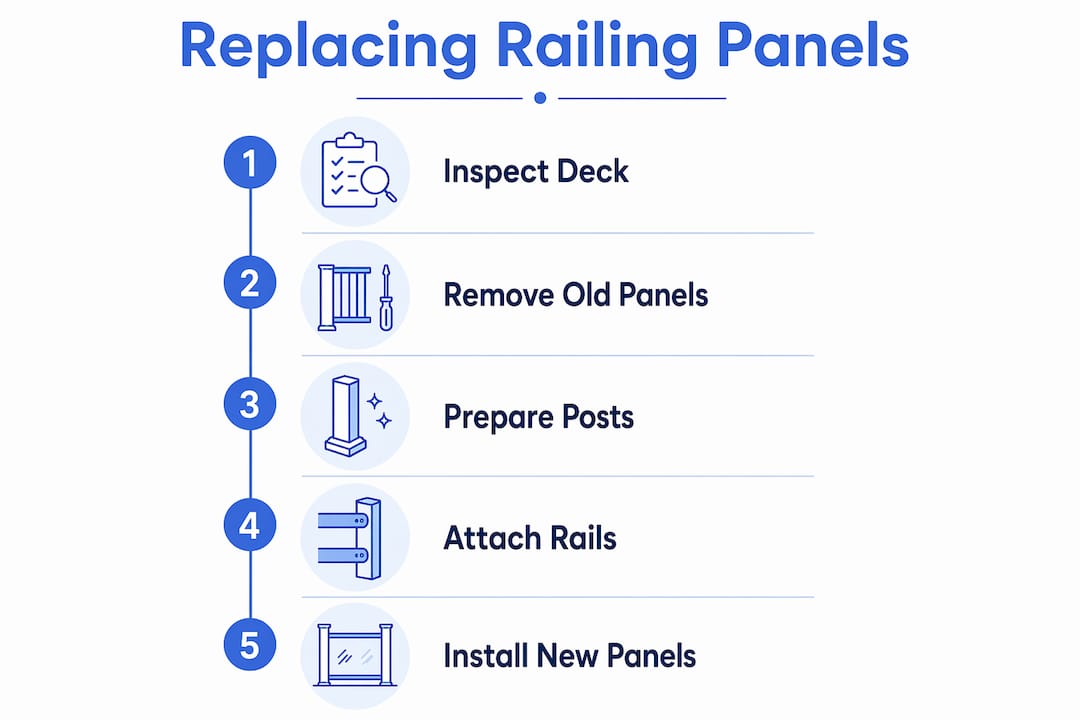
Replacing railing panels is defined as removing existing infill components from a railing system and installing new panels that meet current structural and safety standards. Knowing how to replace railing panels correctly matters because a loose or improperly spaced railing is a genuine fall hazard, not just an eyesore. Railing safety standards require gaps between infill components not to exceed 4 inches, with residential heights at 36 inches and commercial heights at 42 inches as of mid-2026. That single code requirement shapes every decision in this guide, from the tools you buy to the fasteners you choose. Whether you plan to replace deck railing panels with wood balusters, cable, or tempered glass, the process follows the same core sequence: remove, prep, post, panel.
What Tools and Materials Do You Need Before Replacing Railing Panels?
Gathering everything before you start saves you from stopping mid-project with a half-dismantled deck. A missing drill bit or the wrong fastener size can turn a weekend job into a week-long headache.
Essential tools
- Cordless drill and driver bits
- Reciprocating saw with metal and wood blades
- Circular saw or miter saw for cutting rails to length
- Level (4-foot minimum)
- Tape measure and pencil
- Pry bar and hammer
- Safety glasses, work gloves, and non-slip footwear
- Sawhorses for cutting panels at a safe height
Materials checklist
| Item | Notes |
|---|---|
| Replacement panels (wood, aluminum, or glass) | Confirm dimensions before ordering |
| Posts and post hardware | Lag screws or through-bolts, galvanized or stainless steel |
| Top and bottom rails | Match material to panel type |
| Post caps and trim pieces | Protect end grain and improve finish |
| Construction adhesive or caulk | Seal gaps at post bases |
Pro Tip: Before buying panels, inspect the deck framing beneath the surface. Soft or rotted joists cannot hold new post anchors safely. Probe the wood with a screwdriver. If it sinks in easily, repair the framing first.
Aluminum and glass panels require specific track systems and brackets, so confirm compatibility with your post spacing before placing an order. Aluminum railing systems install quickly and resist corrosion when manufacturer specs are followed carefully, including post spacing of 6–8 feet and baluster gaps under 4 inches. That spec alignment is not optional. It is the difference between a railing that passes inspection and one that fails.
How Do You Safely Remove Old Railing Panels and Prep the Deck?
Safe removal starts with working in sections, not tearing out the entire railing at once. Removing old railing in sections prevents managing heavy, unwieldy pieces and helps avoid damage or injury. Think of it like eating a large meal one bite at a time.
- Photograph the existing setup. Document post spacing, rail heights, and fastener locations before anything comes apart.
- Remove post caps and trim. Pry them off gently with a flat bar to reuse or recycle.
- Unscrew balusters or panel infills. Work from one end to the other, removing fasteners with a drill driver.
- Cut rusted or stripped fasteners. Cutting through rusted fasteners with a reciprocating saw is often the only practical removal method for old railing systems. Use a metal-cutting blade and keep your free hand clear.
- Remove top and bottom rails. Lift them away once all infills are detached.
- Extract the posts. Unscrew lag bolts from the framing below. If posts are through-bolted, remove the nut from the underside of the deck.
- Inspect the deck framing. Check joists, rim joists, and blocking for rot, cracks, or insect damage before moving forward.
- Clean the deck edges. Remove old caulk, debris, and any remaining fastener hardware from the mounting areas.
Working on an elevated deck above 6 feet requires extra caution. Use a stable ladder positioned away from the work zone, and never lean over the open edge where the railing used to be. A second person on the ground to receive heavy pieces is not optional at that height. It is a safety requirement.
Pro Tip: Stack removed panels flat on sawhorses rather than leaning them against the house. Leaned panels can tip and shatter, especially glass or composite types.
What Are the Best Practices for Installing Posts Securely?
Post installation is the foundation of the entire railing system. Precision framing and securing of posts prevents future wobble or safety issues, and no amount of decorative panel work fixes a post that moves underfoot.
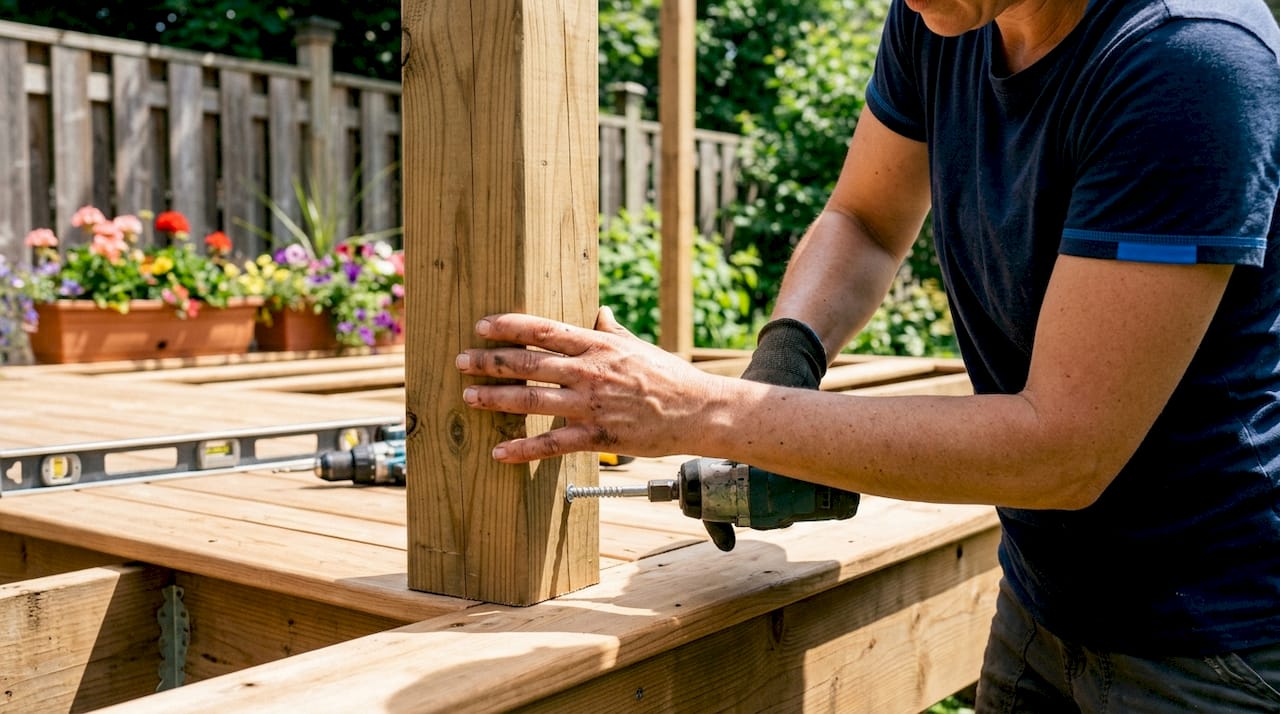
Posts must anchor into the deck’s structural framing, specifically joists or rim joists, not just the deck boards. Deck boards lack structural strength on their own. Mounting posts through bolts to the framing is the only code-compliant method.
Follow these practices for every post:
- Align posts over joists or blocking. Mark joist locations from below before drilling.
- Use 5/16-inch lag screws or through-bolts. Galvanized or stainless steel bolts with pilot holes slightly larger than the bolt diameter prevent splitting and rail post loosening.
- Check plumb on two faces. Hold a level against the post face and the post side before tightening fully.
- Space posts 6–8 feet apart. Wider spacing requires larger post cross-sections to maintain stiffness.
- Confirm railing height. Residential decks require a minimum of 36 inches from the deck surface to the top rail. Commercial applications require 42 inches.
Pro Tip: Contractors recommend using custom L-shaped blocks screwed to the framing to hold posts in exact position during fastening. Clamps can slip and cause wobble. L-shaped blocks secure post positioning and keep your hands free to drive the lag screws.
Lag screws approved for ledger board connections provide superior fastening strength compared to standard lag bolts alone. This detail matters most on corner posts and stair posts, which take the most lateral force.
How Do You Install New Railing Panels and Infills Correctly?
With posts set and plumb, attaching the rails and panels is the most visible part of the project. This is where your material choice shapes the final look and the installation method.
Attaching Rails and Inserting Infills
Attach the bottom rail first using brackets or direct screws through the post. Set it at the correct height above the deck surface to allow for baluster insertion. Then attach the top rail after all infills are in place. Baluster spacing must be under 4 inches to prevent accidents. Use a jig or a cut piece of scrap wood as a spacer template to keep every gap consistent.
Panel Type Comparison
| Panel type | Key advantage | Key consideration |
|---|---|---|
| Wood balusters | Low cost, easy to cut | Requires painting or staining; can rot |
| Aluminum balusters | Corrosion-resistant, low maintenance | Less visual warmth than wood |
| Cable infill | Open view, modern look | Requires tensioning tools and periodic retightening |
| Glass panels | Unobstructed view, premium appearance | Needs precise track systems and setting blocks |
| Wire mesh | Affordable, pet-friendly | Slides into aluminum channels; top rail secures with brackets |
Installing glass railing panels involves framing with precise track systems and using setting blocks or rubber grommets to prevent rattling. That detail separates a glass railing that looks polished from one that vibrates in the wind. For homeowners considering the frameless look, Glassrailingstore’s guides on frameless vs. framed glass railings explain the structural differences clearly before you commit to a system.
Mixing railing materials like wood, metal, and composite can improve durability and aesthetics, but compatibility between component sizes and fastening methods needs careful checking. A wood top rail over aluminum posts, for example, requires specific bracket hardware to prevent movement.
Pro Tip: Install post caps last, after all rails and panels are secured and you have done a final tightness check. Caps seal the end grain on wood posts and give the whole system a finished look with almost no extra effort.
For glass systems specifically, understanding whether a top rail is required by your local code before installation saves you from a costly retrofit later.
Key Takeaways
Replacing railing panels safely requires anchoring posts to structural framing, maintaining code-compliant heights and gaps, and choosing panel materials that match your deck’s design and load requirements.
| Point | Details |
|---|---|
| Safety codes are non-negotiable | Gaps must stay under 4 inches; residential height minimum is 36 inches. |
| Post anchoring determines stability | Attach posts to joists or rim joists with lag screws, never to deck boards alone. |
| Remove in sections | Dismantling railing piece by piece prevents injury and deck damage. |
| Match fasteners to material | Use galvanized or stainless steel hardware to prevent corrosion and loosening. |
| Panel type shapes the method | Glass, cable, and wood infills each require different track systems and spacing tools. |
What I’ve Learned from Watching Homeowners Rush This Project
The most common mistake I see is skipping the framing inspection before ordering panels. Homeowners measure the opening, place the order, and only discover rotted blocking after the old railing is already off. At that point, the project doubles in time and cost. Inspect the framing first, always.
The second mistake is treating post anchoring as a detail rather than the main event. A railing that wobbles at the post is dangerous regardless of how beautiful the glass panels look. I have seen brand-new glass systems installed over posts that were only screwed into deck boards. They looked perfect for about six months. Then the posts started rocking, and the whole system had to come out.
Working in sections is the piece of advice most DIY guides mention but few explain well. The reason it matters is not just weight management. It is about keeping part of the railing intact while you work, so you always have a reference point for height and alignment. Removing everything at once leaves you guessing.
Upgrading to modern materials like tempered glass or powder-coated aluminum is worth the extra upfront cost. These systems require less maintenance, hold up better in wet climates, and add real resale value. The aesthetic benefits of frameless glass are real, but the structural durability is what makes them worth the investment for a deck you plan to keep for years.
— Fuanne
Premium Glass Railing Panels for Your Deck Upgrade
Glassrailingstore carries tempered glass panels built to the 46-inch height standard, giving you a head start on code compliance for both residential and commercial decks.

The 46" tempered glass panel is a high-priority option for homeowners who want unobstructed views without sacrificing safety. Pair it with 90-degree connectors and square caprail straight connectors for a clean, finished corner and rail assembly. Glassrailingstore also offers customer support for planning and quotes, so you can confirm the right panel count and hardware before ordering. Free shipping applies on orders over $3,000.
FAQs
1. What is the maximum gap allowed between railing balusters?
Building codes require baluster gaps to stay under 4 inches. This standard applies to most residential and commercial decks across the United States as of 2026.
2. Can I attach deck railing posts directly to deck boards?
No. Posts must anchor into the structural framing, such as joists or rim joists, using lag screws or through-bolts. Deck boards alone do not provide enough structural strength for a code-compliant railing.
3. How long does it take to replace deck railing panels?
A typical single-level deck railing replacement takes one to two days for a DIY homeowner. Working in sections and having all materials on hand before starting keeps the project on schedule.
4. What fasteners should I use for railing posts?
Use 5/16-inch lag screws or through-bolts made from galvanized or stainless steel. Drill pilot holes slightly larger than the bolt diameter to prevent wood splitting and ensure a tight, lasting connection.
5. Do glass railing panels require a top rail?
Local codes vary, but many jurisdictions require a graspable top rail for glass panel systems. Check your local building department’s requirements before installation to avoid a costly retrofit.
Recommended
- How to Align Glass Railing Panels: A DIY Guide – The Glass Railing Store
- Deck Safety Railing Upgrade: A Homeowner’s Guide – The Glass Railing Store
- Low-Maintenance Railing Materials: 2026 Homeowner Guide – The Glass Railing Store
- Retrofitting Existing Railings with Glass Panels: What You Need to Kno – The Glass Railing Store